Step 1: Prepare the PitClean the pit of debris. Make sure the bottom is level. If it’s muddy, pour a concrete pad. The pump needs a flat surface to sit on.Step 2: Attach the Discharge PipeConnect the…
Step 1: Prepare the Pit Clean the pit of debris. Make sure the bottom is level. If it’s muddy, pour a concrete pad. The pump needs a flat surface to sit on. Step 2: Attach the Discharge Pipe Connect the pipe to the pump outlet. Use a flexible coupling to absorb vibration. Install a check valve to prevent backflow. Step 3: Electrical Connections Run the cable to the control panel. Connect the ground wire first. Then connect the three phase wires. Install overload protection. Step 4: Test Rotation Briefly power the pump to check rotation direction. If backward, swap any two phase wires. Run test for less than 30 seconds. Step 5: Lower Into Place Attach a rope or chain to the lifting handle. Lower the pump gently. Never lift by the cable. Position the pump so it’s fully submerged. Step 6: Final Test Run the pump and check flow. Listen for unusual noises. Verify the check valve works. Done.
Applications Summary: installation guide, pump setup, electrical connection, submersible installation, commissioning Thanks for reading from HAQUANPUMP. Need installation support? Contact our team.
Even the best chopper pump can develop issues. Here are five problems I’ve seen most often with WKQ/QG series pumps and how to fix them. Problem 1: Pump Runs B…
Headworks are the front door of a wastewater treatment plant. Everything that comes down the sewer arrives here — rags, plastics, sanitary products, you name it…
Farm waste is different from municipal sewage. It’s thicker, more fibrous, and loaded with bedding material like straw and hay. An agricultural chopper pump ne…

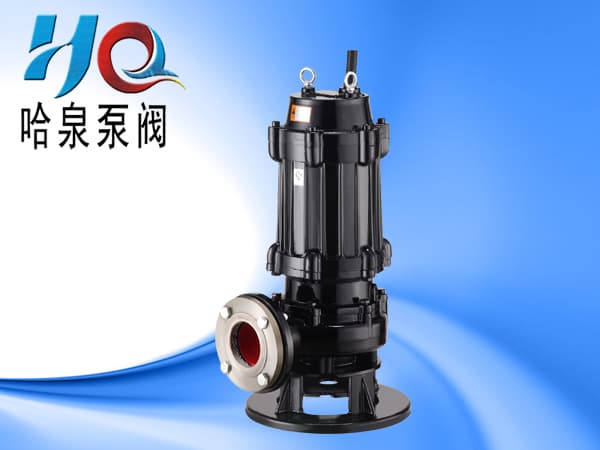
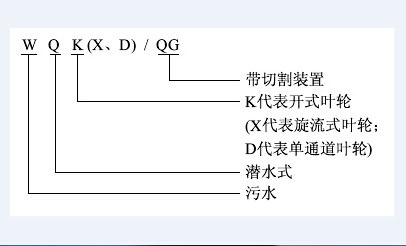
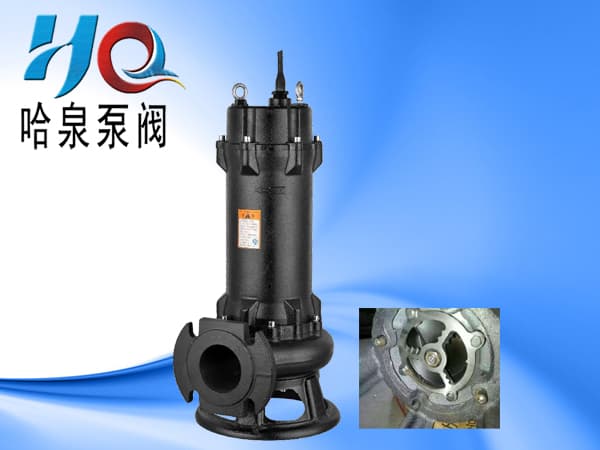 WQK Cutter Submersible Sewage Pump