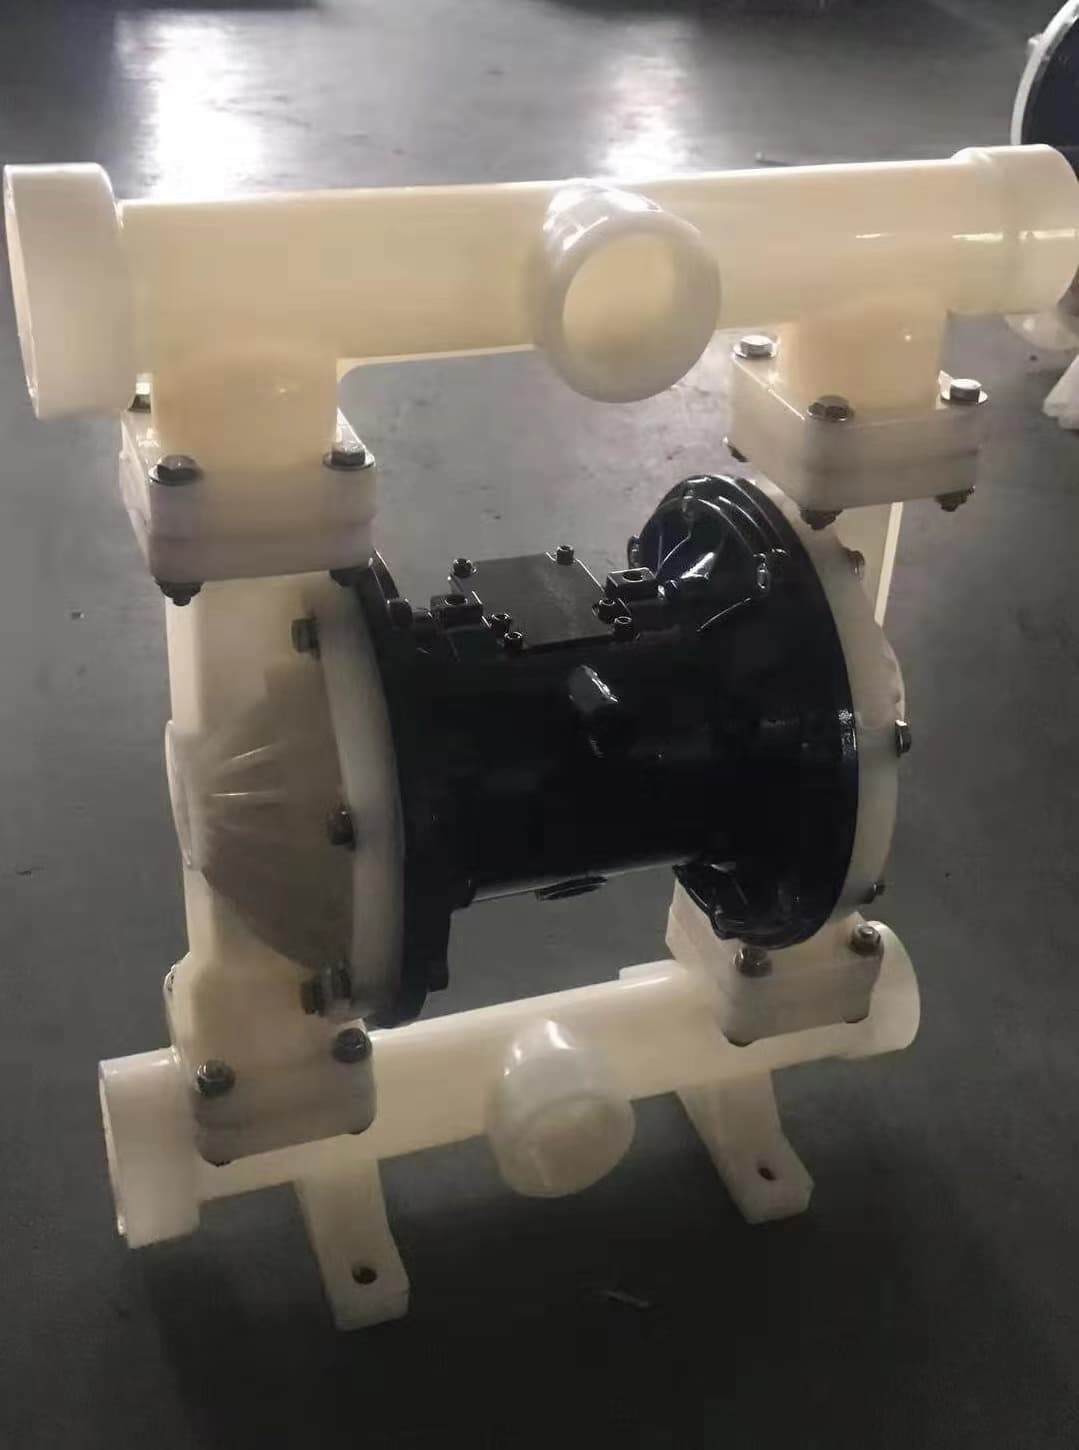
QBY Diaphragm Pump – Complete Disassembly and Reassembly Guide
Before You StartTurn off the air supply and disconnect the air line. Release any pressure in the pump. Drain all liquid from the chambers into a suitable container. Wear gloves and safety glasses. Ste…
Before You Start Turn off the air supply and disconnect the air line. Release any pressure in the pump. Drain all liquid from the chambers into a suitable container. Wear gloves and safety glasses.
Step 1: Mark the Chambers Use a marker to label the left and right chambers. This helps during reassembly. The parts are symmetrical but marking saves confusion.
Step 2: Remove the Manifolds Loosen the clamps holding the inlet and outlet manifolds. Pull them off to expose the ball valves and seats. Inspect these parts for wear or chemical attack.
Step 3: Remove the Outer Chambers Unbolt the liquid chambers from the center section. You’ll now see the diaphragms and backing plates.
Step 4: Remove the Diaphragms Hold the outer backing plate steady. Turn the inner plate counterclockwise to unscrew the diaphragm assembly. Slide the shaft out of the center block.
Step 5: Separate the Shaft and Diaphragm Use a padded clamp to hold the shaft. Unscrew the diaphragm assembly. Inspect the shaft for scratches or corrosion.
Reassembly Notes • Clean all parts before reassembly • Replace any worn or damaged components • Torque bolts evenly to avoid warping • Test for leaks before returning to service
Applications Summary: pump maintenance, diaphragm replacement, industrial pump repair, chemical pump service, field maintenance
Thanks for reading from HAQUANPUMP. We provide QBY diaphragm pumps and full spare parts kits. Contact us for maintenance support or replacement components.
How much does a QBY air diaphragm pump weigh, how is it packed, and how fast can it ship? Real figures from our orders, plus the spares to order with it.

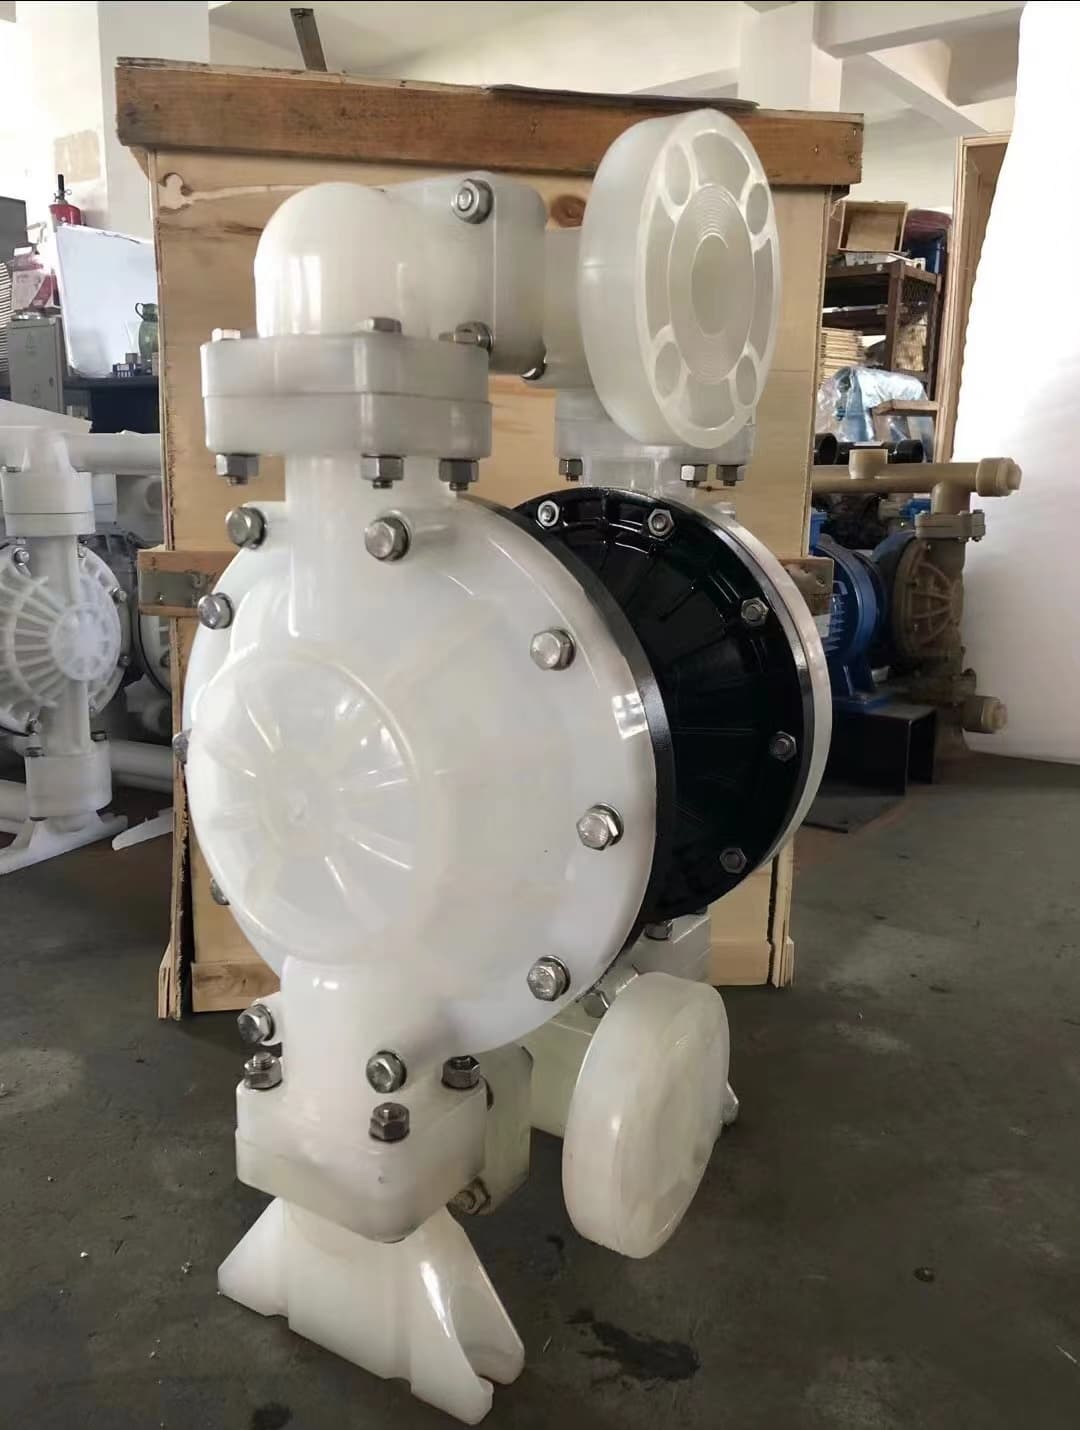

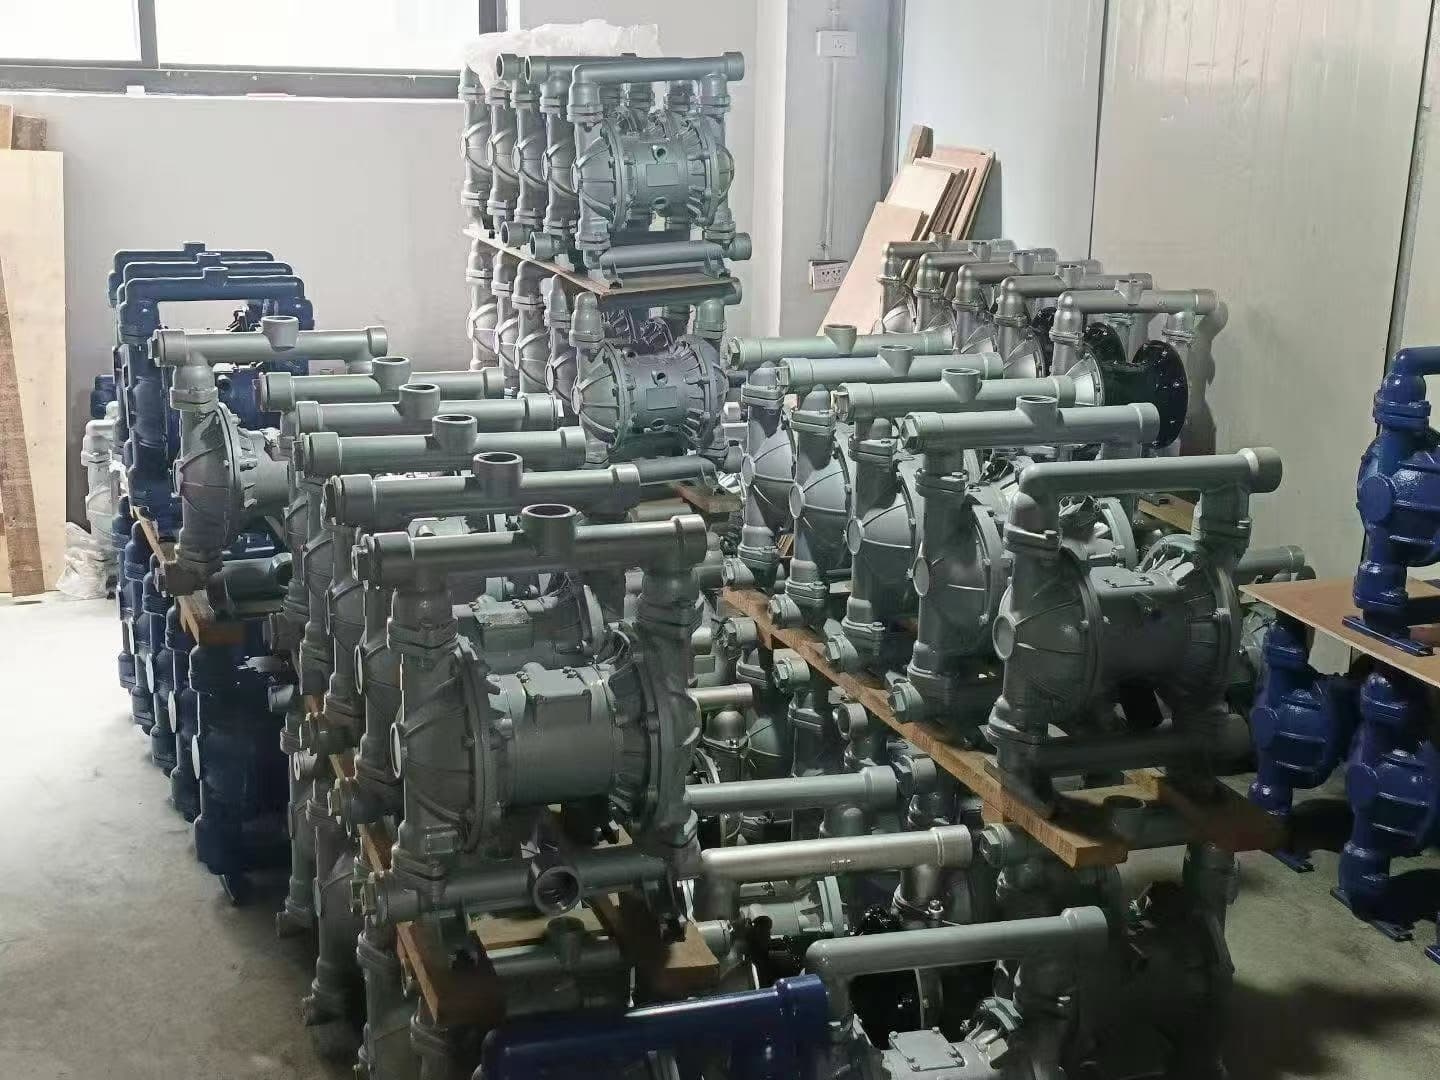 QBY Air-Operated Diaphragm Pump (AODD)