Installing a chopper pump isn’t rocket science, but skipping steps leads to headaches later. Here’s a practical guide based on field experience with WQK/QG series pumps.
Step 1: Prepare the Wet Well
Clean out debris, rocks, and settled sludge. Level the bottom or pour a small concrete pad. The pump needs a flat surface — tilting strains the mechanical seal.
Step 2: Attach Lifting Hardware
Use the stainless steel lifting eye on top. Attach a stainless steel chain or rope. Never lift by the power cable — it will tear the jacket and cause a short.
Step 3: Connect Discharge Piping
Match the pump outlet size (25–150 mm depending on model). Install a flexible coupling to absorb vibration. Add a check valve within 1 meter of the pump to prevent backflow.
Step 4: Run the Power Cable
Use cable rated for submersible service. Route it without sharp bends. Leave slack so the pump can be lifted for inspection without disconnecting.
Step 5: Electrical Connections
Connect ground first (yellow-green wire). Then connect three phases. Install a residual current device and overload relay. Test rotation briefly — swap any two phases if backward.
Step 6: Lower Into Position
Lower gently. Don’t drop it. Make sure the pump is fully submerged — the motor relies on liquid cooling.
Step 7: Test Run
Open the discharge valve. Start the pump. Check flow rate and listen for abnormal noise. Let it run for 10 minutes and verify stable operation.
Applications Summary:
installation guide, pump setup, submersible installation, wet well preparation, commissioning
Thanks for reading from HAQUANPUMP. Need help with your chopper pump installation? Our technical team can review your site drawings and provide recommendations. Contact us — we’re here to help you get it right the first time.

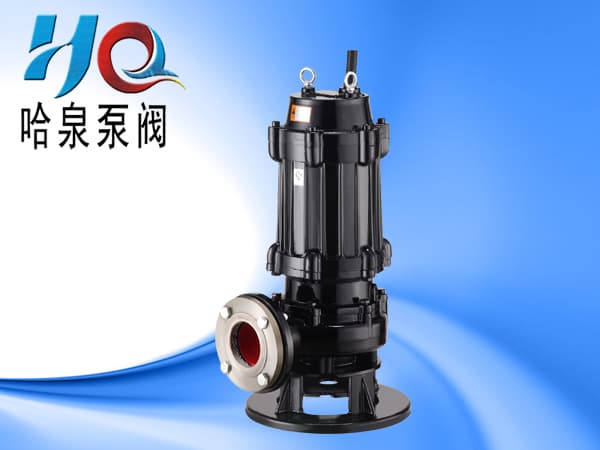
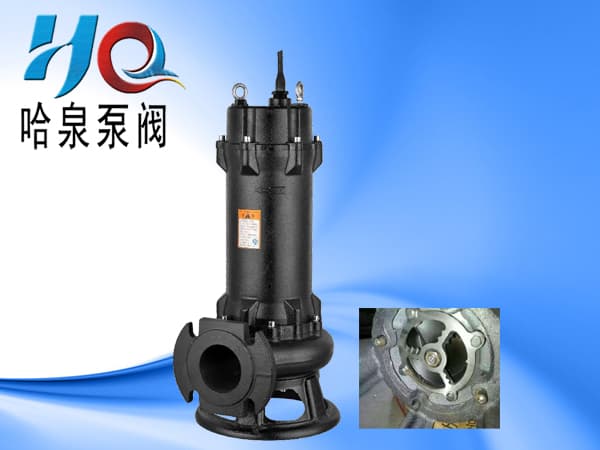 WQK Cutter Submersible Sewage Pump